Are you looking for a new fun project for you and your kids this holiday season? How about some candy making? Our friends at The Chocolate Belles have produced number of YouTube videos with some very cute ideas. Watch the video bellow to learn how to make the cutest Gingerbread Boy chocolates. For this project [...]
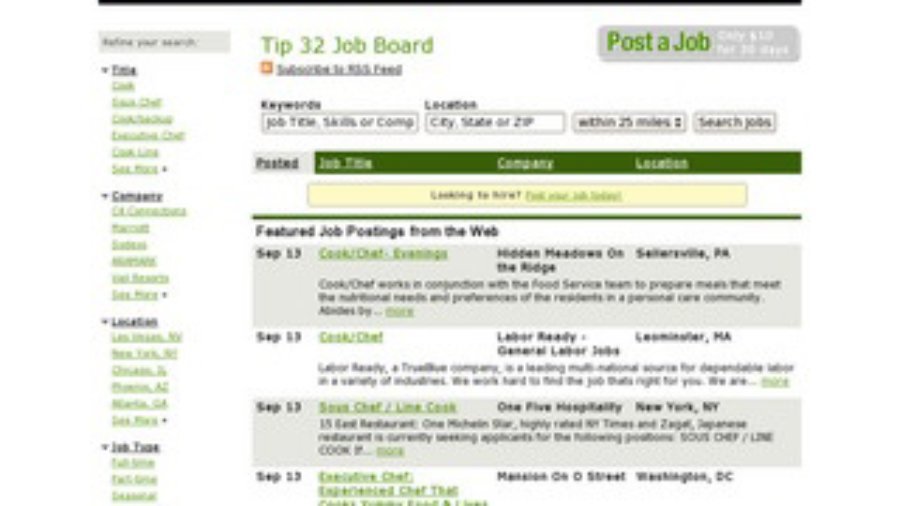
Soon it will be a year since we lunched Tip32.com Job Board. Our job board currently has about 1000 visitors per month and it’s popularity seems to be on the rise. Lunching our job board we promised to feature any direct job posting to our board here on our blog. Today’s featured job is brought [...]
They say picture is worth 1000 words… Enjoy
About a year ago I purchased a Norpro Carrot Curler. I never thought that such a small investment will serve me so well. You can see a gallery of many salads I made using the tool. It is like a large pencil sharpener, which of course you use on veggies like carrots, cucumbers, zucchini. In [...]
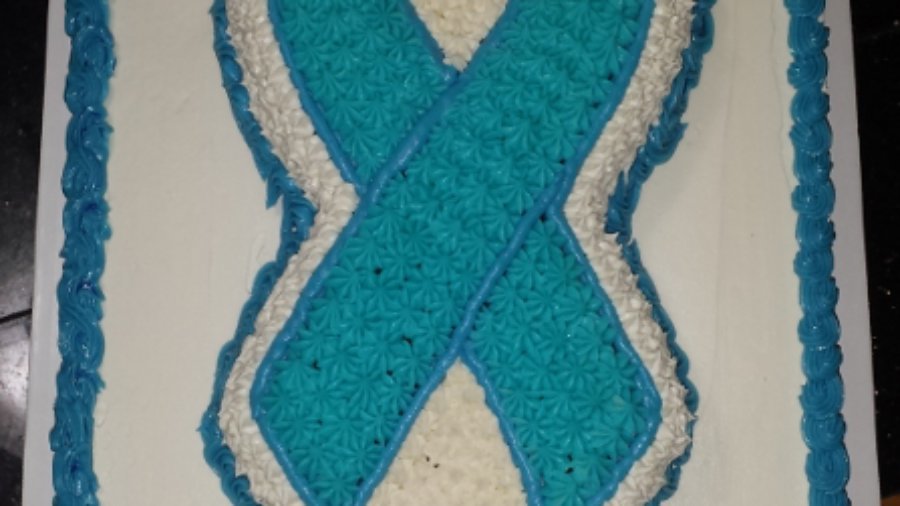
I made this cake for a fundraiser for friend of mine. It was quiet easy. The cake is actually made from two cakes. Bottom is the 3/4 sheet cake and the top ribbon was baked in an Awareness Ribbon Cake Pan I purchased form my good friends at The Chocolate Belles. I really wanted to write [...]
We are very excited to introduce Tip 32 Job Board. Our job board is focused on the food service industry and the culinary positions and jobs. Both recruiters and job seekers are welcomed to use our job board. If you are a recruiter… If you are a recruiter, please consider posting a job with us. [...]
A few days ago I shared in a video how doubtful I was about growing watermelons in Buffalo, NY and how I was surprised to see them actually grow in our garden. Well one of the few watermelons grew to the size that you see in your supermarket. It appears, however, that we planted them [...]